Making Homemade Pasta doesn’t need to be difficult or intimidating.
Have you ever eaten or made fresh homemade pasta?
I can tell you from personal experience that it’s absolutely delicious. It 100%, hands down beats any boxed and dried grocery store pasta. It’s fresh, delicious tasting, has a silky delicate texture, and is also inexpensive to make. It has a unique bite and mouth feel that you just can’t get from its boxed counterparts. It does take some time and effort. Pasta making is one of those skills that you really do improve on after you have a few batches under your belt. While there are tools that are available and they can help with the process and save you time, you really don’t need anything high-tech. A little man (or woman!) power, a smooth surface, and a rolling pin will get you started just fine. Before investing in any fancy or expensive equipment we first recommend trying your hand at making a few batches.
I promise you, making fresh homemade pasta, it’s worth the effort and it really isn’t all that hard.
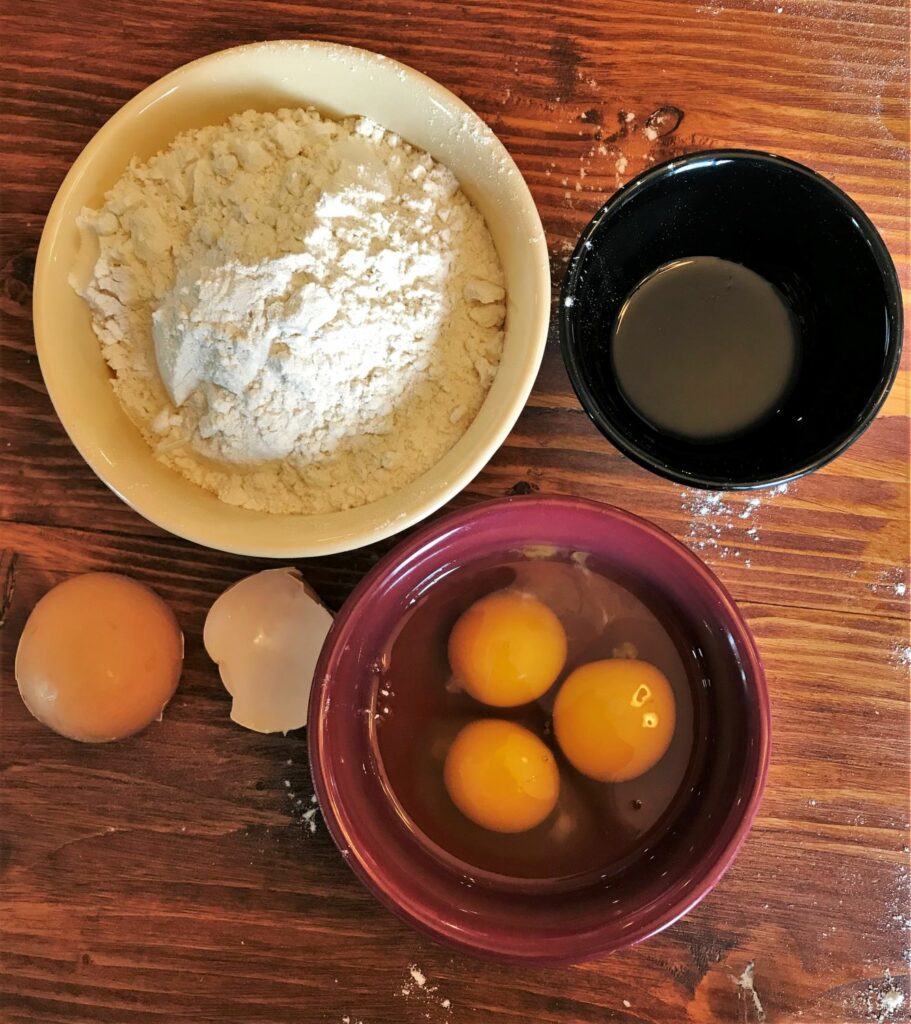
If you have laying hens, fresh pasta is a different and easy way to use up some of your fresh eggs. We like to make up a large batch of pasta, use some immediately for fresh eating and freeze the rest for quick, easy, no-hassle meals. I love feeding my family farm fresh, homemade food, that is free of preservatives.
The basic ingredients for our pasta recipe are flour, eggs, salt, and oil. That’s it, four ingredients, ones that you most likely have sitting in your pantry. The addition of fresh herbs and vegetables can be used to provide a variety of flavors, colors, and textures.
If you’ve ever looked at pasta recipes on the internet or in cookbooks, the sheer number of them they can make you dizzy. With hundreds of recipes and variations, some claiming that you need to use certain flour types, ingredients, to rest or not to rest your dough, the use of oil, whole eggs vs. egg yolks, it can quickly leave you confused and turned off of the notion of even attempting to make pasta.
Our pasta recipe is easy, reliable, no-nonsense, and won’t leave your head spinning. Ready to give it a try?
Making your Pasta Dough:
Before you get started making your pasta, it’s important to note that the amount of ingredients are approximate and will vary depending on the size of your eggs, humidity, and even the age of your flour. If you’re dough is too dry and crumbly, slowly add more liquid (you can use water or oil). If your dough is very wet and sticky you can always add more flour. To be perfectly honest, I rarely even measure my ingredients. Any extra flour can be scrapped into a bowl. We also use all-purpose flour, because it’s something that we always have on hand and its cheap and easy to use. I don’t like to complicate things, especially when you don’t need to.
You can substitute in different types of flour – different flour types will result in pastas with slightly different textures. Using 00 flour will yield silkier noodles, while using semolina add heartiness and a rougher texture that will help sauces cling to your noodles better.
Our basic recipe calls for the following ingredients:
- 1 ¾ cups of all-purpose flour
- 3 eggs
- 1 tablespoon extra-virgin olive oil
- A generous pinch of salt
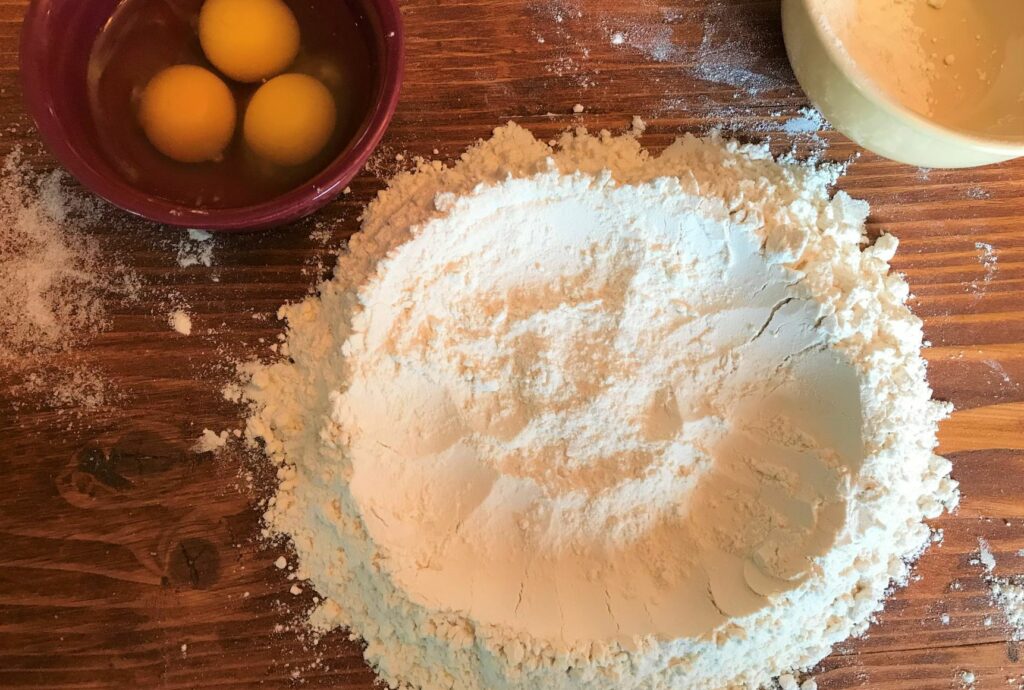
After you’ve gathered and measured out your ingredients, take your flour and create a mound with a deep well in it. You can do this in a bowl, however a flat, non-porous surface, such as your counter or tabletop work best. Add a generous pinch of salt to your flour.
You’re basically making a mini flour volcano with eggs for lava.
Crack and add your eggs and oil to the flour well.
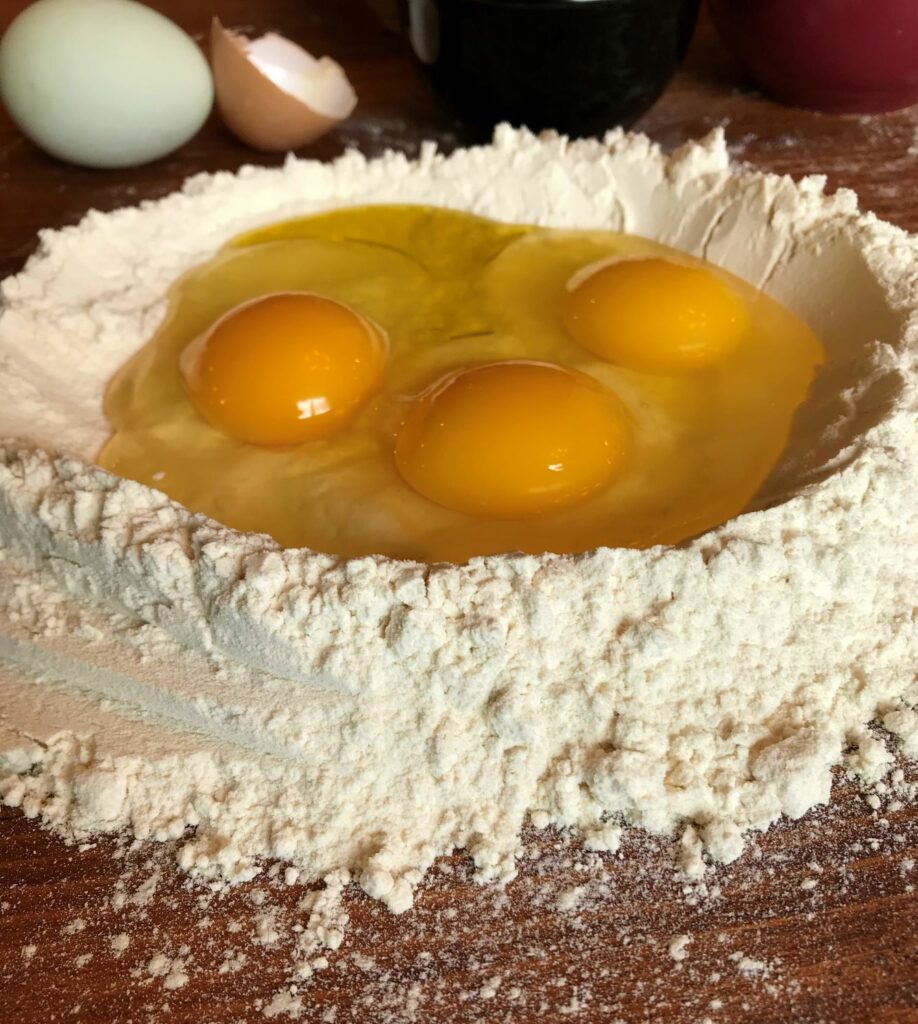
To help prevent eggs and oil from getting everywhere add them slowly and make sure your well is deep and large enough. Use a fork and beat the eggs and oil into the well. You will slowly incorporate the flour from the sides of the well into the egg and oil mixture.
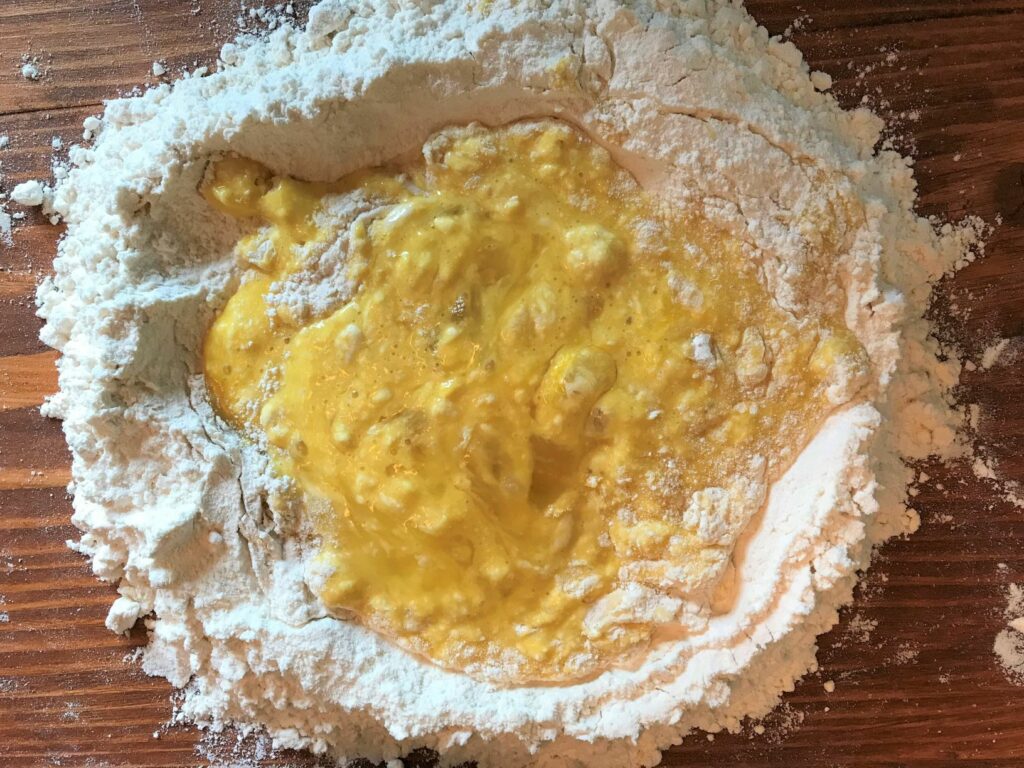
Once the flour and egg mixture start to come together and the mixture is too thick to mix with a fork, it’s time to work on adding more flour.
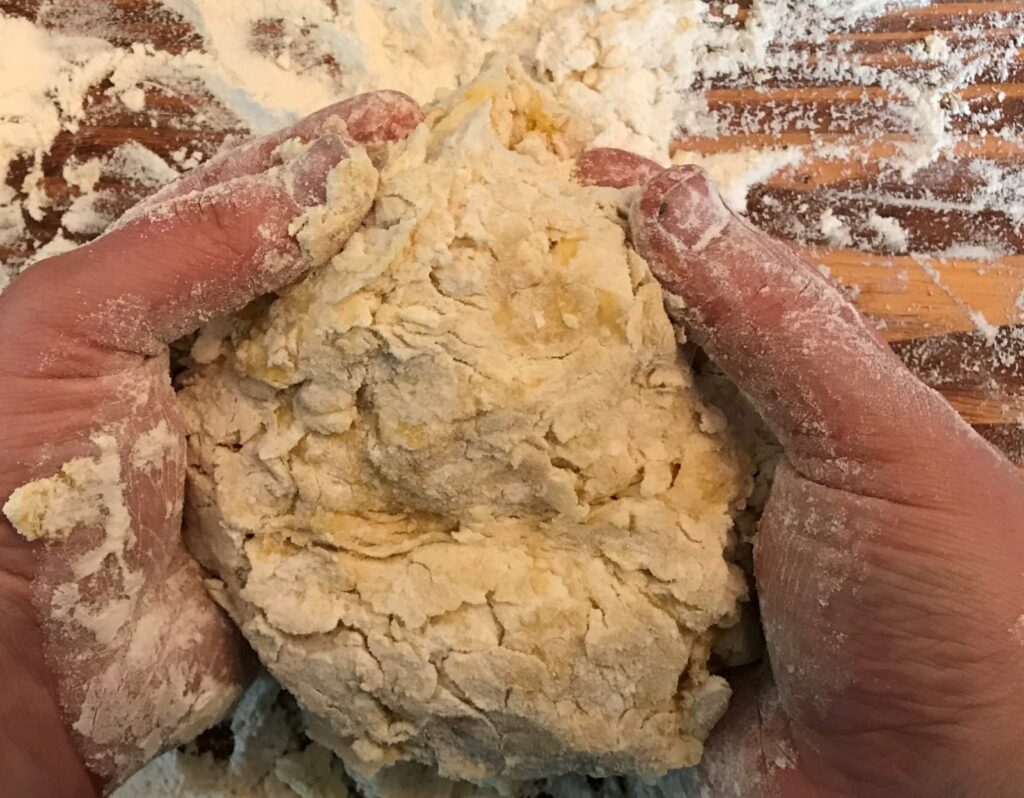
At this point the dough will still be wet and sticky, but it will hold together as a single mass. Continue to mix the dough by hand and work to evenly incorporate more flour.
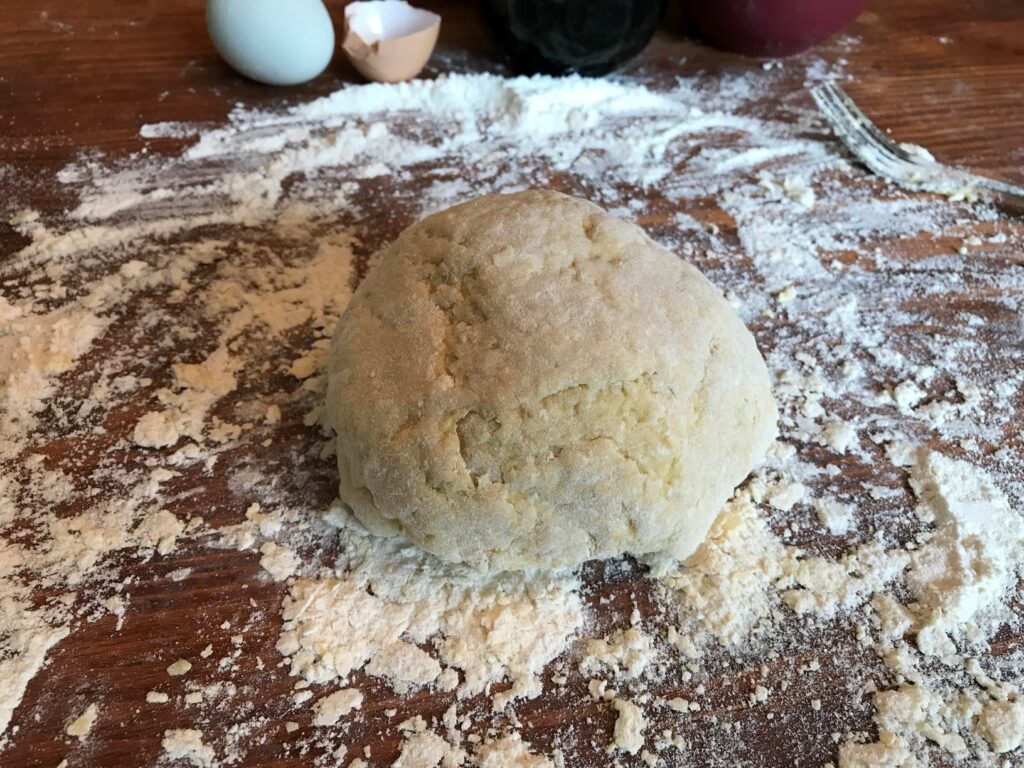
You want the dough to feel firm and dry, it’s going to form a not so pretty, craggy-looking ball. Once you’ve reached this stage, it’s almost time to start kneading.Before you begin the kneading process scrape down your surface. You only want the surface to be lightly coated in flour. At this stage we are aren’t looking to incorporate more flour into the dough ball.
Let’s talk science for a second…
It’s very important to knead the dough. Kneading the dough creates a critical gluten structure that holds the pasta together.
Gluten is formed when two of the proteins that are in flour – glutenin and gliadin come into contact with water. When your flour is mixed with a liquid it almost immediately starts a chemical process that results in gluten. In the case of pasta, gluten is our friend. When water is added the gluten swells and forms a continuous network of fine strands.
Pasta dough contains little water and it can take a little while for the dough to fully come together. The water that is in your liquid ingredients (eggs, oil, or water) has to hydrate the flour particles (the starch and the gluten), and kneading will help develop the gluten structure.
What this means is that you’re building up a gluten network. This protein networks gives your pasta structure and results in a nice firm and springy texture.
To sum it up. Gluten = Good Texture.
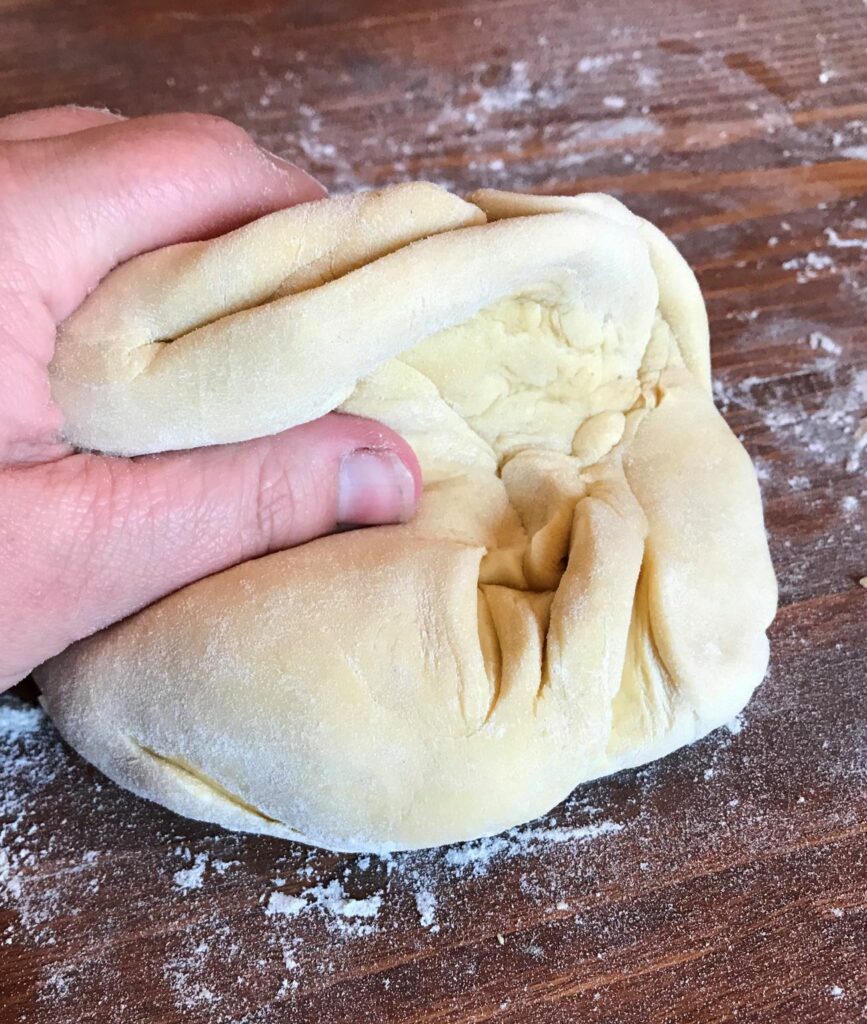
The main trick for making pasta really is the kneading process – you want to knead it until the dough becomes smooth, it should take about 8 – 12 minutes. Get ready for a mini hand and forearm work out. It’ll take some time and muscle effort on your part, but it really isn’t too much work. After you’ve made pasta a few times you’ll quickly get the hang of it and it’ll come together faster and easier.
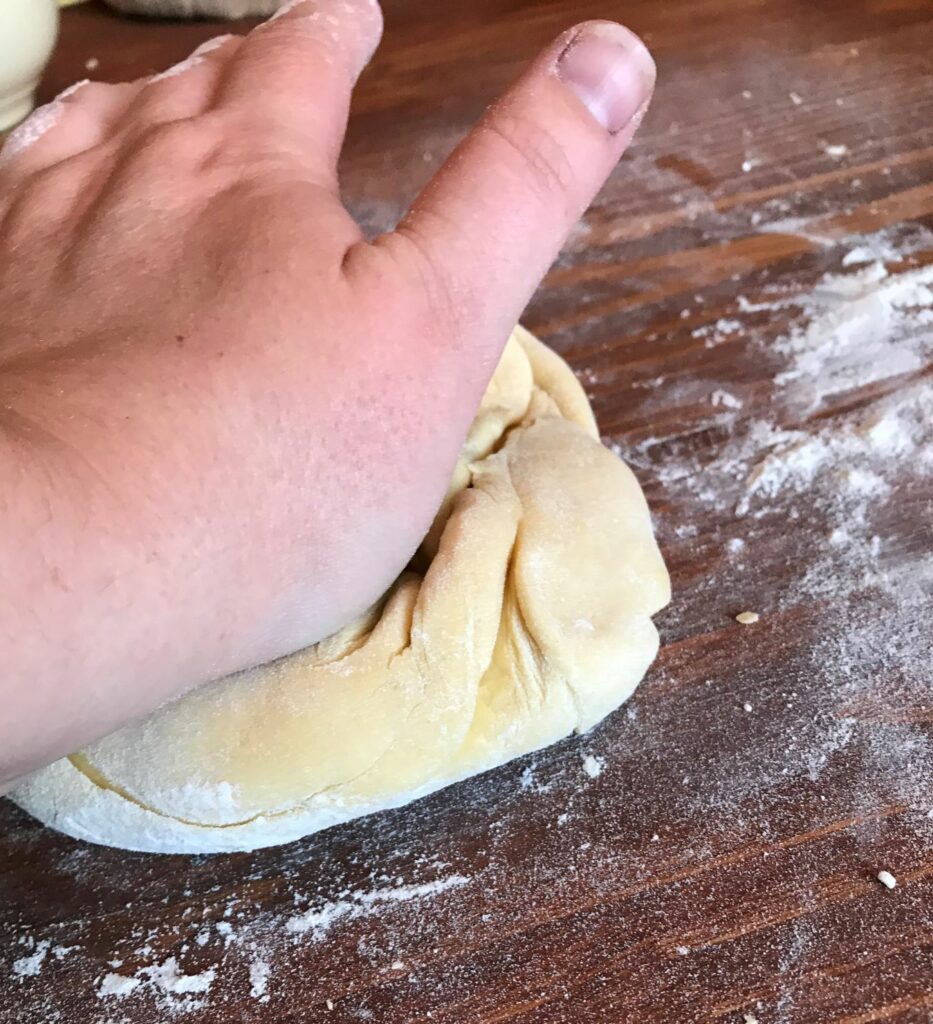
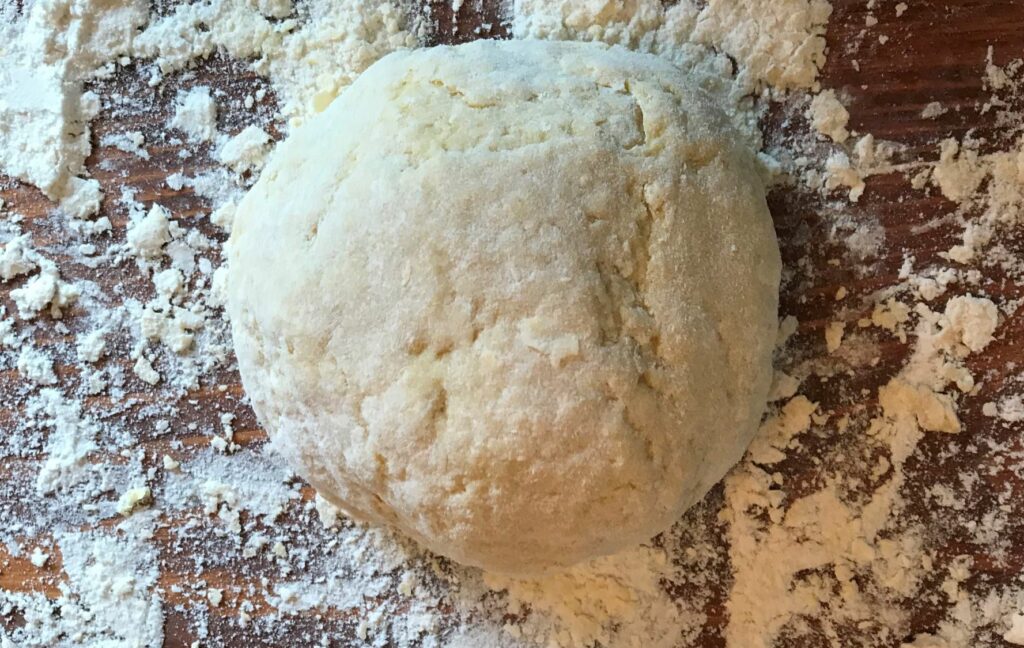
A well kneaded pasta dough will be firm but will be flexible and pliable enough to roll into thin sheets. Don’t worry about over-kneading your dough. Your dough ball will continue to get firmer and firmer and will become so elastic that you won’t be able to continue. Overworking or over kneading your dough isn’t a problem and won’t hurt your pasta, it’ll just give you a great workout. A properly kneaded and well worked dough will result in pasta that has a great texture and a snappy spring to it. If you’re unsure, just keep kneading away. At this point you should have a nice smooth ball of pasta dough.
Resting you Dough:
After you’ve kneaded your pasta dough, you’re going to need to let it relax for about an hour or so. All up need to do is cover your dough and let it sit out at room temperature. A clean dish towel or plastic cling wrap will work just fine for this. You want it covered to prevent the dough from drying out.
This rest period allows the flour in the dough to continue to hydrate. At the same time the gluten structure will begin to relax and orient itself. By allowing your dough some time to sit and relax it will make rolling your dough easier and will prevent the dough from “pulling back” after you’ve rolled it.
Rolling your Dough:
When it comes to rolling your dough, you have two options – using a pasta machine or rolling by hand. Either option will work just fine. In the past we’ve rolled dough by hand with a rolling pin and always had good results. However, to make the task quicker, easier, and more uniform we use our KitchenAid Stand Mixer. If you don’t own a KitchenAid Stand Mixer I highly recommend purchasing one, it’s well worth the money – you can get yours directly from Amazon. We’ve had ours for over 10 years and it’s still going strong! To help streamline the pasta making process we purchased the KitchenAid pasta roller and cutter attachment. We love our pasta attachment and use it regularly.
We’ll give a high-level overview of both methods.
Using a rolling pin:
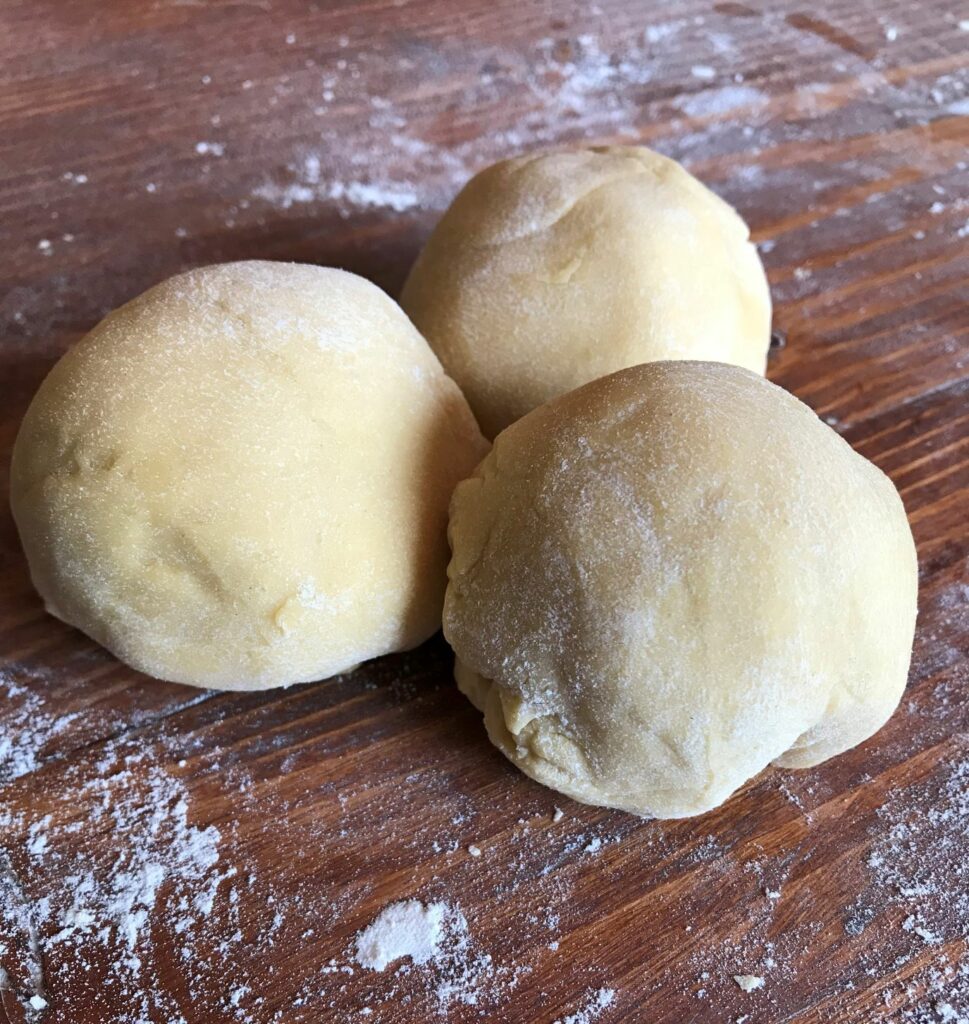
After your dough has rested, pull off a piece of dough. This should be approximately 1/3 of your dough recipe. Set aside and cover the remaining dough until you are ready to use it. Just like when the dough was resting, we don’t want it to dry out.
Lightly flour your work surface and form the piece of dough that you are working with into a ball. Place your dough ball on the floured surface. Using the palm of your hand, flatten the ball into a small circle.
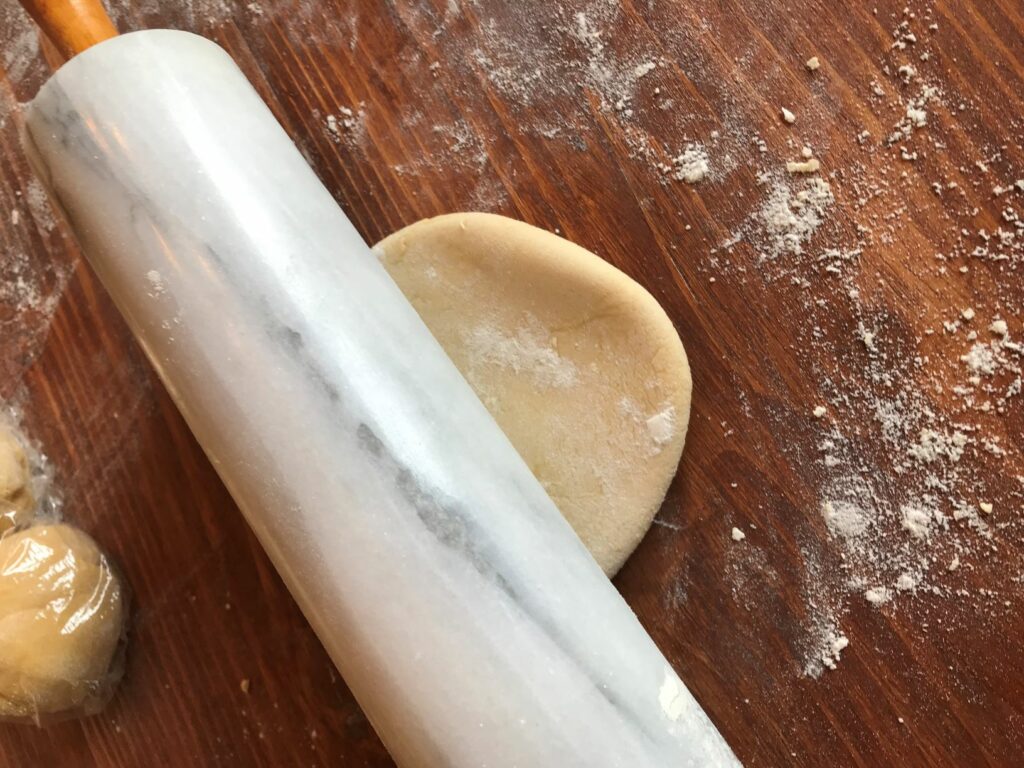
Using a lightly floured rolling pin, begin the roll the dough. Start rolling from the center and roll away from you. You want to stretch the dough as you roll. After several rolls, rotate the dough about a quarter of a turn. Continue to roll your dough until it has an even thickness of 1/8 inch or less. Roll out thinner if you would like to make thin noodles.
If your work surface, dough, or rolling pin starts to get sticky add more four to lightly coat the surface.
Using a rolling machine:
Start by adjusting your rollers on the rolling machine to the widest setting. After your dough has rested, pull of a piece of dough. This should be approximately 1/3 of your dough recipe. Set aside and cover the remaining dough until you are ready to use it.
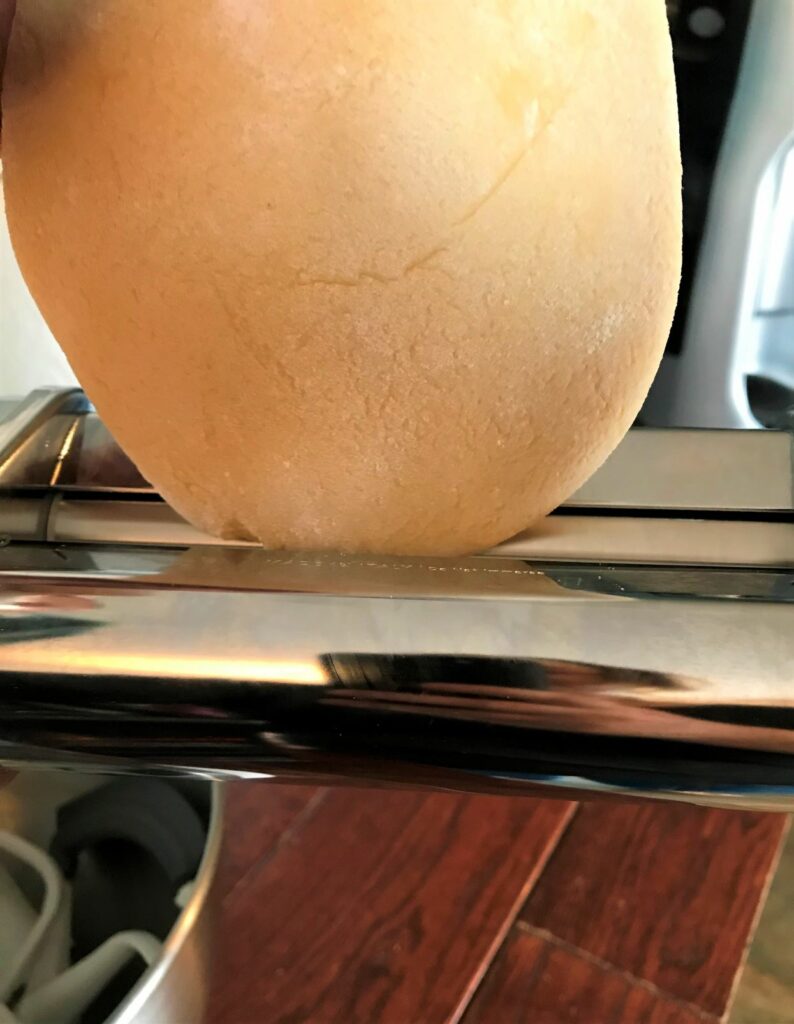
Flatten the piece of dough that you are using and feed it through the machine at the widest setting, make sure you catch the dough as it comes out. If at any point your dough is sticky, lightly dust the dough and the rollers with flour. After the dough comes out of the machine feed it through the machine again.
Continue to adjust your settings and feed your dough through the machine – you will send it through progressively narrower and narrower widths. Each pass will result in thinner and thinner pasta sheets. You want to continue to pass your dough through the machine until the dough is smooth and elastic and is at the desired thickness.
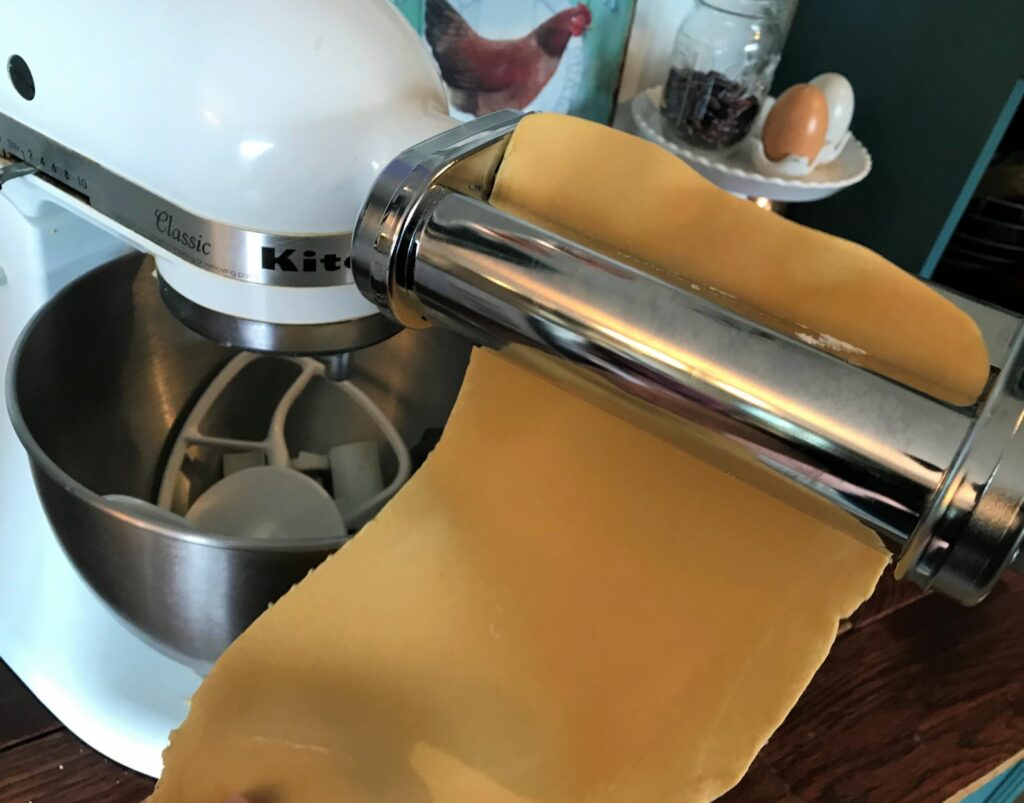
Lightly flour and cover your thin dough sheets until you are ready to cut them. Repeat the machine rolling steps with your remaining dough balls.
Cutting your pasta:
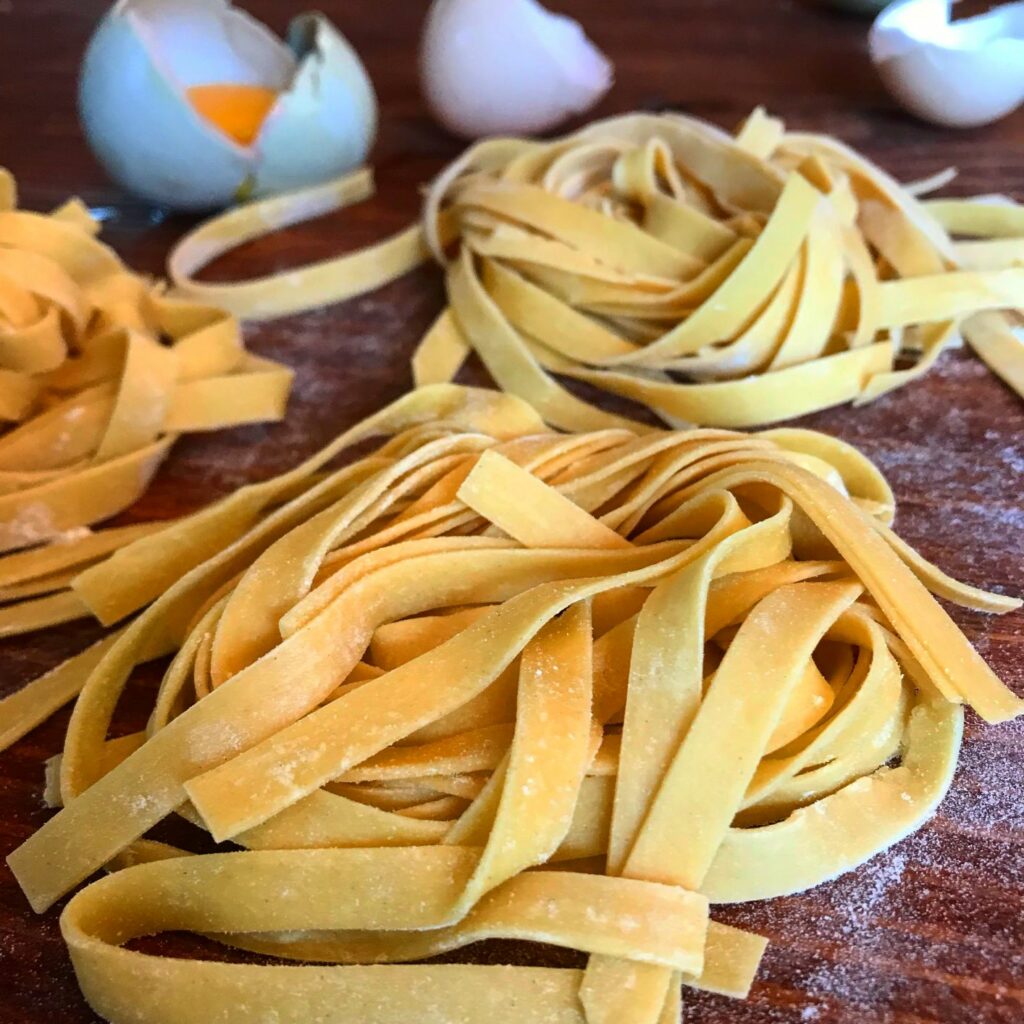
It’s easy to cut and make any thin and flat pasta shapes, including lasagna noodles, fettuccine, and linguine. You can also use your fresh, homemade pasta to make ravioli and other tasty stuffed pastas. Measure your pasta sheets to length and cut a section off from the long sheets, cut the pasta to the desired noodle length.
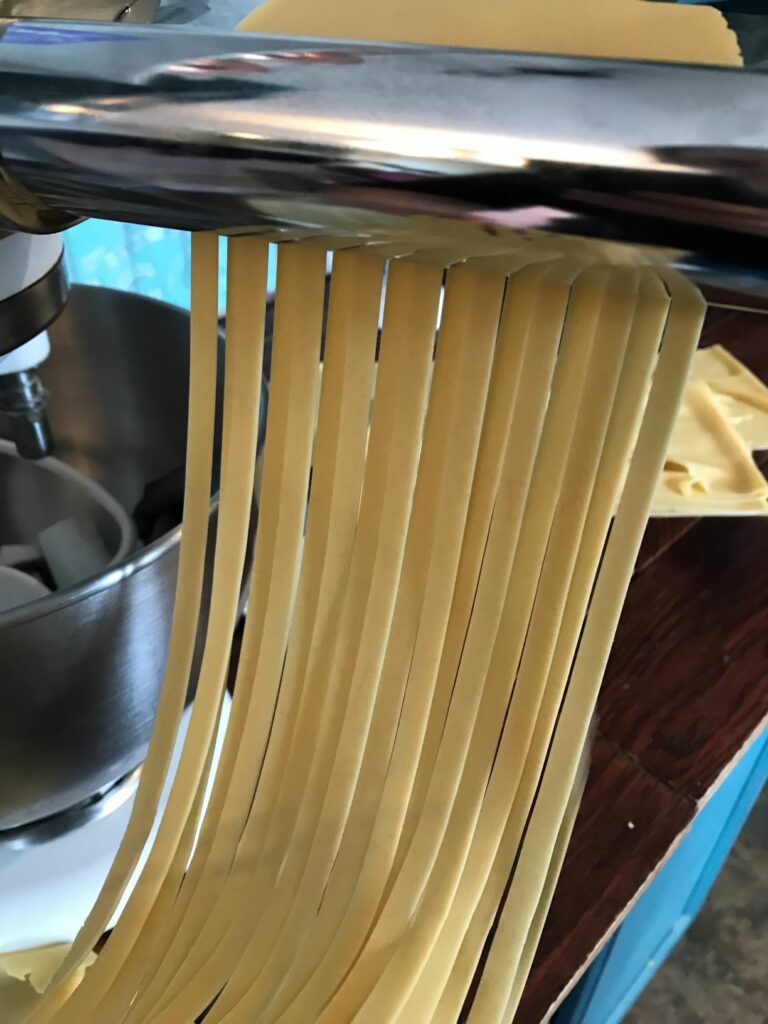
Just like rolling your dough you have two options when it comes to cutting your pasta – do it by hand or using a pasta machine/cutter attachment. Your pasta shapes, especially for a beginner pasta maker don’t need to be fancy. If you’re interested in making more complex or extruded shapes, you’ll need special cutters, tools, and attachments.
It’s up to you and your personal preference for how wide and how long you want your pasta. You can cut shorter egg noodles for soup, or long noodles that you can coat with sauce. There’s no right or wrong way when it comes to size and shape. We so recommend that you cut uniform shapes – you want all of your pasta to have a similar cook time. Otherwise you can end up with some pieces that are several over-cooked, or under-cooked.
Cooking and Storing Fresh Pasta:
Your fresh pasta will cook fast, much faster than store bought dried pasta! Simply add your pasta to a pot of well salted and boiling water. Cook times are typically one to three minutes. Thin and small shapes will cook faster. Make sure you have your colander on hand and ready to go!
You can store your fresh homemade pasta in the fridge for a few days. Make sure you wrap it well and remove as much air as possible. You can also freeze your pasta up to a month.
We like to cook our pasta as soon as possible after we make it. If we are going to store our freshly made pasta, we like to give it a quick coating of flour to prevent the noodles from sticking together.
We’d love to hear about your pasta making experience and your favorite sauces and way to eat it!
Until next time…
Ashley

Love love love how thorough this is! It’s broken down beautifully and I can’t wait to try it! ?
Thank you!! Let us know how it turns out (it’s going to be delicious by the way), and what type of sauce you eat with it!
I’m coming over sometime to make fresh pasta with you!?
I am wondering if I am going to freeze the homemade past do I cook it first then freeze it?
No need to cook it! I recommend first placing the pasta on a cookie sheet and placing it in the freezer for 20 – 30 minutes… this way the individual pieces won’t all clump and squish together. Once they are partially frozen and not sticking together you can place in your freezer bag or container.